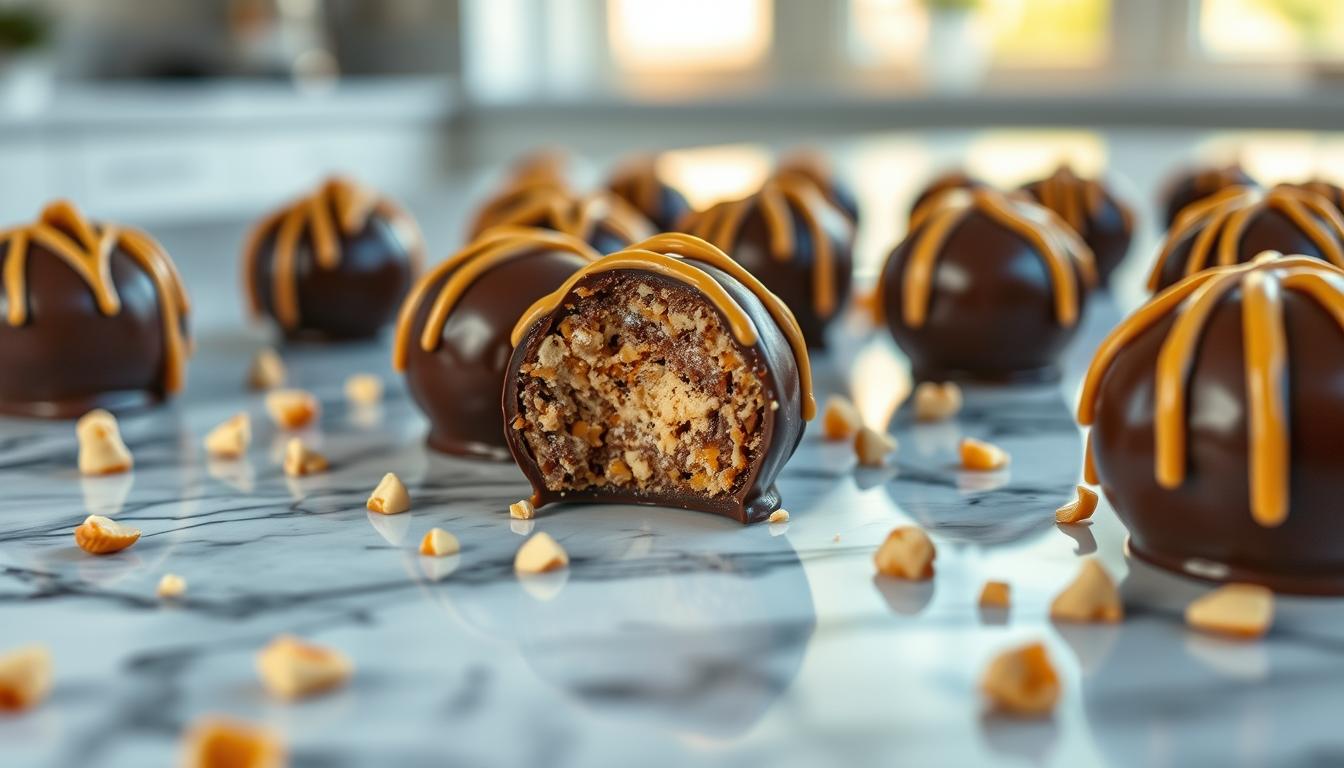
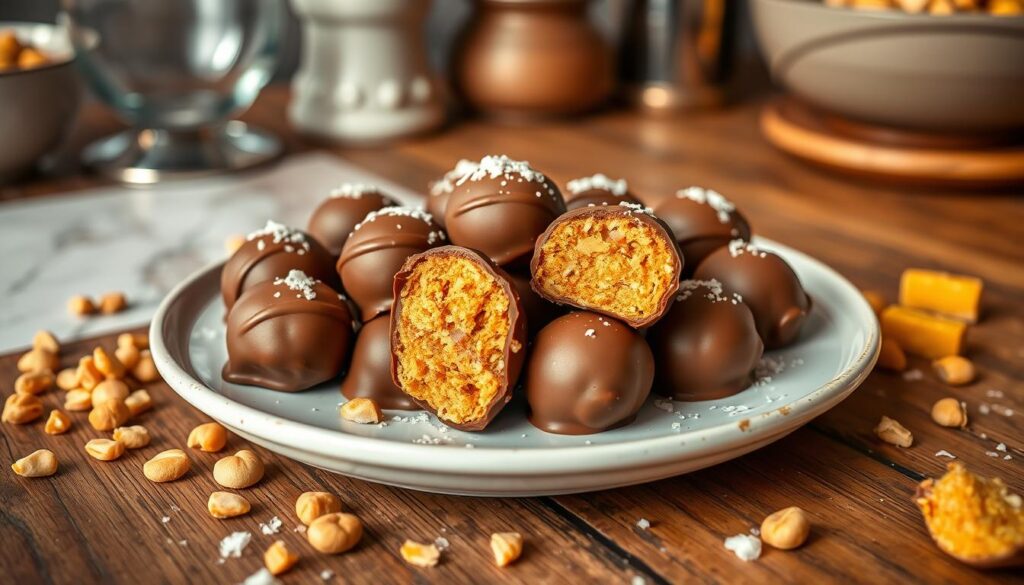
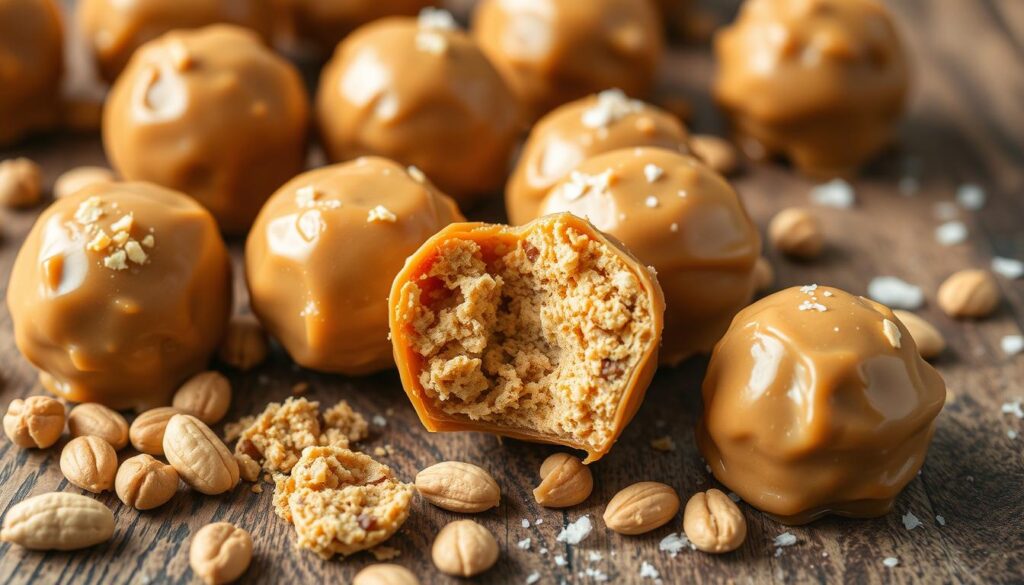
Indulge in the ultimate decadence with these homemade luxurious Butterfinger balls. Imagine sinking your teeth into the rich, creamy center. It’s wrapped in a delectable chocolate truffle coating. These Butterfinger balls are perfect for treating yourself or as a gift. They will satisfy your sweet tooth and leave you wanting more.
Key Takeaways
- Discover the secret to creating decadent homemade Butterfinger balls that rival the store-bought version.
- Learn the essential ingredients and step-by-step process to achieve the perfect Butterfinger ball texture and flavor.
- Explore creative variations and flavor enhancements to make your Butterfinger balls uniquely your own.
- Uncover tips for proper storage and packaging to ensure the freshness and longevity of your Butterfinger balls.
- Troubleshoot common issues and master the art of making Butterfinger balls with ease.
The Ultimate Guide to Luxurious Butterfinger Balls
Learn about the fascinating history of Butterfinger candies. Find out why making these gourmet treats at home is so rewarding. It’s a great way to enhance your snacking experience.
History of Butterfinger Candies
The first Butterfinger candy bar was introduced in 1923 by the Curtiss Candy Company. It was known for its crispy texture and rich peanut butter flavor. This made it a favorite among candy lovers.
Over the years, Butterfinger has changed, but its unique taste and crunch have stayed the same. It’s a classic that many still love today.
Why Make Them at Home
Making Butterfinger balls at home lets you tailor them to your liking. You can play with flavors and textures to get it just right. It’s a fun way to experiment in your kitchen.
Plus, making them yourself means you can avoid preservatives and additives. You get to enjoy a treat made with care, right in your own kitchen.
Benefits of Homemade Version
Choosing homemade Butterfinger balls has many perks. Here are a few:
- Personalize the flavors and textures to suit your taste buds
- Ensure the use of high-quality, fresh ingredients
- Avoid any unwanted preservatives or additives
- Create a unique and thoughtful gift for family and friends
Enjoy the homemade goodness of Butterfinger balls. It’s a treat that’s both delicious and special.
Essential Ingredients for Perfect Butterfinger Balls
Making delicious artisanal dessert creations like Butterfinger balls needs the right ingredients. At the core of these rich chocolate balls are a few key parts. They come together to make a treat that’s sure to wow.
The Chocolate Foundation
High-quality chocolate is key for these treats. Choose dark chocolate with at least 60% cocoa for a deep flavor. Milk chocolate adds sweetness, but dark chocolate’s contrast makes these artisanal dessert creations stand out.
Creamy Peanut Butter
The peanut butter filling is the main attraction, offering a smooth contrast to the chocolate. Use natural, unsweetened peanut butter for the best taste and texture. Avoid processed peanut butters to avoid a greasy or crumbly center.
Additional Ingredients
- Powdered sugar: For the perfect texture in the peanut butter filling
- Butter: Adds richness and a smooth consistency
- Vanilla extract: Enhances the flavor of the rich chocolate balls
- Salt: A pinch balances sweetness and brings out flavors
With these ingredients, you’re ready to make your own delicious artisanal dessert creations inspired by Butterfinger candy.
Kitchen Tools and Equipment Needed
To make luxury candy bites and premium candy delights like homemade Butterfinger balls, you need some key tools. These tools make the candy-making process smooth and successful. They help you get professional-quality results right at home.
Essential Tools
- A large mixing bowl: This is where you’ll mix and knead the ingredients.
- A hand mixer or stand mixer: Good mixing is important for the right Butterfinger texture.
- A candy thermometer: It’s key to check the candy’s temperature to cook it just right.
- A baking sheet or parchment paper: These are for shaping and cooling the Butterfinger balls.
- A sharp knife or cookie cutter: Use these to cut the firm, chilled Butterfinger mixture into shapes.
Optional Equipment for Professional Results
While the basic tools are a must, some extra gear can elevate your luxury candy bites:
- A double boiler: It helps melt chocolate precisely, avoiding burns.
- A food processor: This is for finely chopping peanuts or other mix-ins for a smooth texture.
- A candy mold: It shapes the Butterfinger balls into uniform, professional treats.
Storage Containers
After making your tasty premium candy delights, you’ll need good storage. Airtight containers, like tin boxes or glass jars, are perfect. They keep your homemade Butterfinger balls fresh and flavorful.
Step-by-Step Preparation Process
Making delicious indulgent confections and decadent chocolate truffles like Luxurious Butterfinger Balls needs careful steps. Follow these instructions to make your homemade treats perfect every time.
- Start by melting high-quality milk chocolate in a double boiler or microwave. Stir often until it’s smooth and creamy.
- In another bowl, mix crushed Butterfinger candy bars, smooth peanut butter, and a bit of vanilla extract until it’s all mixed up.
- Slowly add the melted chocolate to the peanut butter mix. Fold gently until it forms a dough-like consistency.
- Use a small cookie scoop or spoon to make bite-sized balls. Place them on a parchment-lined baking sheet.
- Put the Butterfinger balls in the fridge for at least 30 minutes to firm up.
- After chilling, dip the balls in more melted chocolate for an even coat on all sides.
- Put the coated balls back in the fridge. Chill until the chocolate hardens, about 15-20 minutes.
| Ingredient | Quantity |
|---|---|
| Milk Chocolate | 12 oz |
| Butterfinger Candy Bars, Crushed | 1 cup |
| Smooth Peanut Butter | 1/2 cup |
| Vanilla Extract | 1 tsp |
Follow these easy steps to make your own Luxurious Butterfinger Balls. Enjoy the perfect mix of peanut butter and chocolate in every bite.
Tips for Achieving the Perfect Texture
Making the perfect texture in homemade gourmet peanut butter treats like Butterfinger balls is key. You need to control the temperature, mix right, and coat well. This ensures your rich chocolate balls are just right – crunchy, chewy, and smooth.
Temperature Control
The temperature of your ingredients is crucial for the texture of your Luxurious Butterfinger Balls. Make sure the peanut butter mix is at the right temperature before adding more. If it’s too warm, it might be too soft to shape.
If it’s too cold, it could be crumbly and hard to coat in chocolate.
Mixing Techniques
- Don’t over-mix the peanut butter, confectioners’ sugar, and dry ingredients. This can make the texture dense and heavy.
- When adding melted chocolate, mix gently with a folding motion. This keeps the mix light and airy.
- Blend the ingredients just until they’re mixed. Avoid over-working the dough.
Coating Methods
How you coat your Butterfinger balls in chocolate matters too. Use a gentle dipping motion to coat each ball evenly. Let the excess chocolate drip off for a smooth coating.
“The secret to the perfect Butterfinger ball texture is in the details. By controlling the temperature, mixing with care, and coating with precision, you can create a truly indulgent and satisfying treat.”
Creative Variations and Flavor Enhancements
Get creative and turn Butterfinger balls into amazing artisanal dessert creations and luxury candy bites. Discover exciting flavors and textures that will wow your taste buds and impress your friends.
Try new coatings and toppings. Coat your Butterfinger balls in dark, white, or mixed chocolate for a stunning look. Add crushed nuts, toasted coconut, or cocoa powder for extra crunch and flavor.
Add natural extracts and spices like vanilla, cinnamon, or sea salt for unique tastes. For a fancy touch, drizzle them with caramel, honey, or chocolate ganache.
- Dip Butterfinger balls in melted dark, milk, or white chocolate
- Coat in crushed nuts, coconut, or cocoa powder
- Infuse with vanilla, cinnamon, or sea salt for unique flavors
- Drizzle with caramel, honey, or chocolate ganache
There’s no limit to making your Butterfinger balls into artisanal dessert creations and luxury candy bites. Let your creativity run wild and make treats that will amaze and please everyone.
“The true secret of happiness lies in taking a genuine interest in all the details of daily life.” – William Morris
Storage and Shelf Life Guidelines
Keeping your Butterfinger balls fresh is key to enjoying them fully. Follow these easy steps to store and extend the life of your homemade treats. This way, you and your family can savor these sweet delights for longer.
Proper Storage Methods
Storing your Butterfinger balls right is crucial. Use an airtight container like a tin or a resealable bag. Store them at room temperature in a cool, dry spot. Don’t put them in the fridge, as it can make the chocolate bloom and the filling dry.
Freezing Instructions
To keep them fresh for longer, freeze your Butterfinger balls. Lay them out on a baking sheet and freeze until solid. Then, move them to an airtight container or freezer-safe bag. This keeps them from sticking together. Let them thaw at room temperature for 30 minutes before eating.
Signs of Freshness
- The chocolate should be smooth and shiny, without white spots or bloom.
- The center should be firm but slightly soft when pressed.
- The Butterfinger taste should be strong, with a sweet and salty mix.
- They should not be dry, crumbly, or have bad smells.
By storing your Butterfinger balls correctly, they can stay fresh for up to two weeks at room temperature. Or, they can last months in the freezer. Enjoy your delicious homemade treats to the fullest!
Packaging Ideas for Gifting
Sharing your homemade indulgent confections like Butterfinger balls can be special. The right packaging turns these gourmet peanut butter treats into beautiful gifts. Here are some creative ways to package them:
Elegant Gift Boxes
Put the Butterfinger balls in a stylish gift box. Line it with tissue paper or a decorative insert. Choose boxes with clear lids to show off the candies. Or pick a design that matches their golden color and crunchy texture.
Festive Treat Bags
- Fill cellophane bags with the Butterfinger balls and tie them off with a colorful ribbon or twine.
- Customize the bags with holiday-themed stickers, tags, or a handwritten note for a personal touch.
- Consider adding a sprig of fresh greenery or a cinnamon stick for a festive flair.
Reusable Jars and Tins
Layer the Butterfinger balls in a Mason jar or decorative tin. This gives a rustic, homemade look. These containers can be used again, making your gift even more special.
| Packaging Option | Advantages | Considerations |
|---|---|---|
| Gift Boxes | Showcases the candies, elegant presentation | Can be more expensive, requires additional materials |
| Treat Bags | Versatile, easy to customize, cost-effective | May not provide as much protection for the candies |
| Jars and Tins | Reusable, rustic-chic aesthetic | Slightly more time-consuming to assemble |
Choose packaging that shows off your homemade indulgent confections. It’s all about making the recipient feel special. With a bit of creativity, your gourmet peanut butter treats can become the ideal gift.
Troubleshooting Common Issues
Making perfect decadent chocolate truffles or rich chocolate balls can be fun. But sometimes, you might run into a few common problems. Don’t worry, we’ve got easy fixes to help your homemade Butterfinger balls be perfect every time.
Texture Troubles
If your Butterfinger balls are too soft or crumbly, it might be because of temperature. Make sure to chill the mix well before shaping and coating. If they’re too firm, adding a bit more melted chocolate to the peanut butter mix might help.
Coating Conundrums
Having trouble with an even, smooth coating on your chocolate truffles? Check that the chocolate is at the right temperature for dipping. Use a fork or toothpick to gently roll the balls in the melted coating. If the coating is too thick, a little vegetable oil can thin it out.
Storage Setbacks
Storing your rich chocolate balls right is crucial for keeping them fresh and textured. Store them in an airtight container at room temperature, away from heat or sunlight. If you see moisture or bloom, just wipe the balls with a clean, dry cloth.
| Common Issue | Possible Cause | Solution |
|---|---|---|
| Soft or Crumbly Texture | Insufficient chilling | Chill the mixture thoroughly before shaping |
| Overly Firm Texture | Not enough melted chocolate | Add a touch more melted chocolate to the peanut butter mixture |
| Uneven Chocolate Coating | Improper chocolate temperature | Ensure the chocolate is at the right temperature for dipping |
| Moisture or Bloom | Improper storage conditions | Store in an airtight container at room temperature, away from heat and sunlight |
By tackling these common problems, you can make sure your homemade chocolate treats are perfect every time. A bit of troubleshooting and attention to detail will help you make these irresistible sweet treats with ease.
Conclusion
Making luxurious Butterfinger balls at home has been a fun journey. You’ve learned about Butterfinger’s history and the perks of making them yourself. You’ve also picked up key skills to get the right texture and taste.
Whether you’re experienced in making sweets or just love baking, making these treats at home is special. Your loved ones will be amazed by your skills when you share these delicious Butterfinger balls. They’re perfect for any event.
We hope you keep trying new things with these Butterfinger balls. Let your creativity shine and try out different flavors. Share your creations with your friends and family. Enjoy the joy of making your own sweets and take your dessert-making to the next level.
FAQ
What are Luxurious Butterfinger Balls?
Luxurious Butterfinger Balls are a mix of Butterfinger candy and rich chocolate. They are gourmet treats that give a fancy twist to the classic Butterfinger.
Why should I make Butterfinger Balls at home?
Making Butterfinger Balls at home lets you pick the best ingredients. You can also make them your own way. This way, you get to enjoy these chocolate treats as a special treat.
What are the key ingredients for perfect Butterfinger Balls?
To make perfect Butterfinger Balls, you need good chocolate, creamy peanut butter, and Butterfinger crunch. Adding butter, sugar, and vanilla makes them even better.
What equipment is needed to make Butterfinger Balls?
You’ll need a bowl, a mixer, a saucepan, and a baking sheet. For the best results, get a candy thermometer, a chocolate pot, and containers to keep them fresh.
How do I achieve the perfect texture for Butterfinger Balls?
To get the right texture, control the chocolate’s temperature and mix well. Use tempered chocolate for the best look and taste.
Can I customize the flavors of Butterfinger Balls?
Yes! You can try different flavors like adding sea salt or spices. You can also mix in nuts or dried fruit for a new twist.
How long do Butterfinger Balls last, and how should I store them?
Stored right, they last up to two weeks. Keep them in an airtight container at room temperature. For longer, freeze them for up to three months. Thaw them at room temperature before enjoying.
How can I package Butterfinger Balls for gifting?
Package them in elegant boxes or tins for a nice gift. Add ribbons and tags for a personal touch. This makes them a unique and memorable gift.


