I love desserts, especially the mix of Oreos and cheesecake. The thought of cookies and cream makes me excited. I’m excited to share this easy no-bake Oreo cheesecake recipe that’s ready in 30 minutes!
This cheesecake is great for parties, sweet cravings, or impressive desserts. It’s so good that your guests will be amazed. They’ll wonder how you made such a delicious dessert in just 30 minutes.
Key Takeaways
- Easy no-bake Oreo cheesecake recipe ready in just 30 minutes
- Combines the classic flavors of Oreos and creamy cheesecake
- Perfect for a variety of occasions, from parties to cravings
- Requires minimal ingredients and effort to create a stunning dessert
- Satisfies the taste buds of Oreo lovers and cheesecake enthusiasts alike
Why This No-Bake Dessert Will Become Your Go-To Recipe
When it’s hot outside or you’re busy, you don’t want to bake. That’s why this chilled dessert is perfect. It’s an easy, make-ahead Oreo cheesecake great for summer or potluck events. Its creamy texture and Oreo taste make it a favorite.
This Oreo cheesecake is super convenient. You don’t need to bake it. Just mix, chill, and serve. It’s perfect for a quick dessert at a party or barbecue.
This make-ahead dessert is also very flexible. You can use different Oreo flavors or other cookies for a twist. It’s cold, making it great for hot days.
Try this no-bake Oreo cheesecake. It’s easy to make, tastes amazing, and you can customize it. It’s perfect for any occasion, whether it’s a potluck or just a treat.
Essential Ingredients for Your Oreo Cheesecake
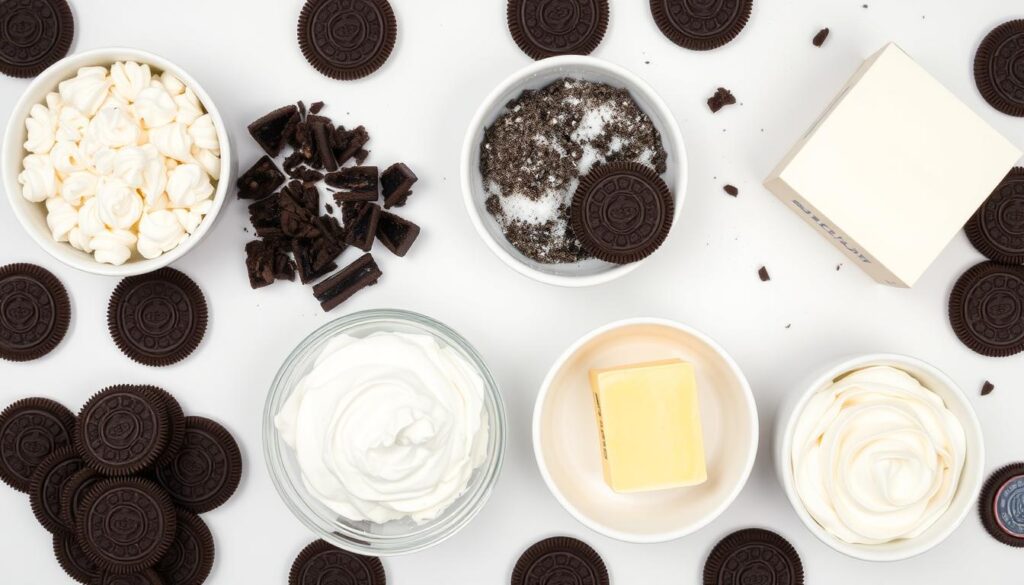
Making the perfect cream cheese filling and Oreo cookie crust needs the right ingredients. You’ll need cream cheese for its richness and Oreos for their classic taste. Each part is key to making this tasty no-bake dessert.
Choosing the Right Cream Cheese
The cream cheese is the base of a great cheesecake. Choose a high-quality, full-fat cream cheese. It gives the cheesecake a creamy texture and a tangy taste that goes well with the Oreo cookie crust. Make sure the cream cheese is at room temperature before you start. This helps it mix well.
Best Oreos for Perfect Results
For the Oreo cookie crust, use the classic Oreo cookie. Its chocolate wafers and creamy filling make a great base for your cheesecake. Don’t use off-brand or flavored Oreos. They might not taste or feel the same.
Additional Ingredients You’ll Need
- Heavy cream: Whip heavy cream until it’s stiff to get the right creamy texture.
- Powdered sugar: A bit of powdered sugar sweetens the cream cheese filling and balances the richness.
- Vanilla extract: A small amount of vanilla extract adds to the cheesecake’s flavor.
With these ingredients, you’re ready to make a delicious Oreo cookie crust and cream cheese filling. Your family and friends will love it.
Kitchen Tools and Equipment Required
Making a no-oven dessert like Oreo cheesecake needs the right tools. You’ll need a few key items for a smooth process. Let’s look at the essential tools for your dessert journey.
A springform pan is a must. It lets you remove the cheesecake easily, keeping it intact. If you don’t have one, a 9-inch pie dish or cake pan works too, but it won’t look the same.
To make the perfect Oreo crust, you can use a food processor or a rolling pin. The food processor crushes cookies fast and evenly. The rolling pin method takes more effort but still works well.
- Mixing bowls: You’ll need sturdy bowls for the cheesecake filling and crust ingredients.
- Electric mixer: A hand mixer or a stand mixer with a paddle attachment makes the cheesecake filling creamy.
- Spatula: A flexible spatula is key for scraping the mixing bowls and mixing well.
With these tools, you’re ready to make a delicious no-oven Oreo cheesecake. It will impress your guests and satisfy your sweet tooth.
| Tool | Importance | Alternatives |
|---|---|---|
| Springform pan | Allows for easy removal of the cheesecake from the mold | Regular 9-inch pie dish or cake pan |
| Food processor or rolling pin | Crushes Oreo cookies into a fine crumb for the crust | Resealable plastic bag and a heavy-duty rolling pin |
| Mixing bowls | Necessary for combining ingredients for the filling and crust | Large, sturdy bowls of various sizes |
| Electric mixer | Whips the cheesecake filling to a smooth, creamy texture | Hand-held whisk or fork (for smaller batches) |
| Spatula | Helps to thoroughly incorporate all the ingredients | Wooden spoon or rubber scraper |
With a bit of creativity and simple tools, you can make a wonderful no-oven dessert. It will satisfy your sweet tooth and impress your loved ones.
How to Make the Perfect Oreo Cookie Crust
Making the ultimate oreo cookie crust is key to a delicious no bake oreo cheesecake. With a few easy steps, you can get a crunchy base that’s perfect for the creamy filling.
Crushing Oreos to the Right Consistency
Start by gathering your Oreo cookies. You want to crush them into a fine, uniform crumb. The best way is to use a food processor or blender and pulse until it’s just right. You’re aiming for a texture like coarse sand, with no big chunks.
Mixing and Pressing the Crust
After crushing your Oreos, mix them with melted butter. Use about 1.5 cups of crumbs to 5 tablespoons of butter. Mix until the crumbs are well coated and the mixture sticks together when pressed.
Then, put the Oreo crust mixture in your springform pan or pie dish. Use your fingers or the back of a measuring cup to press it into the pan. Make sure it’s even and compact, so it can hold the no bake oreo cheesecake filling.
With your perfect Oreo cookie crust ready, you’re almost there. Soon, you’ll be enjoying a homemade dessert that will wow your family and friends.
No Bake Oreo Cheesecake: Step-by-Step Instructions
Making a tasty easy no-bake dessert like the Oreo cheesecake is super easy. Just follow these simple steps to make a creamy cream cheese filling that will wow you in minutes.
- Start by beating the cream cheese in a big bowl until it’s fluffy. Slowly add the sweetened condensed milk, mixing until it’s smooth.
- Then, gently mix in the whipped cream. Be careful not to mix too much. This keeps the texture creamy.
- Crush the Oreo cookies finely and mix them into the cream cheese. Make sure the Oreos are spread out evenly.
- Put the cream cheese filling into the Oreo crust and spread it out. Use a spatula or spoon to smooth the top.
- Chill the cheesecake for at least 4 hours. This lets the flavors mix and the texture set.
After it’s set, the easy no-bake dessert is ready to eat! Cut it up and serve. You can add more crushed Oreos or your favorite toppings. Enjoy the mix of a buttery Oreo crust and a rich cream cheese filling. It’s the ultimate no-bake treat!
Tips for Achieving the Perfect Creamy Texture
Making a chilled dessert like a cookies and cream cheesecake is more than just mixing ingredients. To get a smooth, creamy texture, consider a few key factors. Here are the essential tips to help you make an irresistibly indulgent cookies and cream cheesecake.
Temperature Considerations
The temperature of your ingredients is key for the cookies and cream cheesecake‘s texture. Make sure your cream cheese is at room temperature before starting. This ensures it blends well with other ingredients, making the filling smooth and lump-free.
Mixing Techniques
Proper mixing is crucial for a creamy texture. Don’t overmix, as it can make the texture grainy or dense. Instead, mix gently, folding the ingredients together until they’re evenly combined.
Setting Time Guidelines
- After pouring the filling into the crust, chill the chilled dessert for at least 4 hours, or better yet, overnight.
- This chilling time lets the cookies and cream cheesecake set firmly, giving it its creamy texture.
By following these tips and techniques, you’ll be on your way to a cookies and cream cheesecake with a smooth, rich, and irresistible texture.
Make-Ahead and Storage Instructions
This no-bake Oreo cheesecake is perfect for busy days. It’s a great make-ahead dessert for parties or just enjoying at home. Follow these tips to make your dessert experience even better.
Refrigerating and Freezing
Assemble your Oreo cheesecake and refrigerate it for up to 5 days. Cover it with plastic wrap or foil. Let it sit at room temperature for 30 minutes before serving.
For longer storage, freeze it for up to 2 months. Wrap it in plastic or foil, then in a bag or container. Thaw it in the fridge overnight before serving.
Thawing and Serving
- Thaw a frozen cheesecake in the fridge overnight.
- Let it sit at room temperature for 30 minutes before serving.
- Add whipped cream, crushed Oreos, or chocolate sauce for a delicious finish.
With these easy steps, you can enjoy this creamy Oreo cheesecake whenever you want. It’s perfect for any occasion, big or small.
Troubleshooting Common Issues
Making the perfect no bake oreo cheesecake can be fun, but it comes with its own set of challenges. Don’t worry, we’re here to help you overcome any problems. We want your dessert to be a huge success.
Fixing a Runny Filling
If your no bake oreo cheesecake filling is too soft, it’s usually because you over-whipped the cream cheese. To fix this, just add a bit more cream cheese. Fold it in gently until it’s thick and creamy.
Preventing Crust Problems
A strong oreo cookie crust is key for a great no bake oreo cheesecake. If your crust is crumbly or hard to press, try adding melted butter to the Oreo crumbs. This will help the crust stay together and give you a smooth base for your filling.
By solving these common problems, you’ll be well on your way to making a no bake oreo cheesecake that’s both delicious and beautiful. With a bit of troubleshooting and some helpful tips, your dessert will be the star of the show.
Creative Topping and Decoration Ideas
Adding the right toppings and decorations can make your cookies and cream cheesecake stand out. It’s perfect for any potluck or special event. You can go from classic to elaborate with ease.
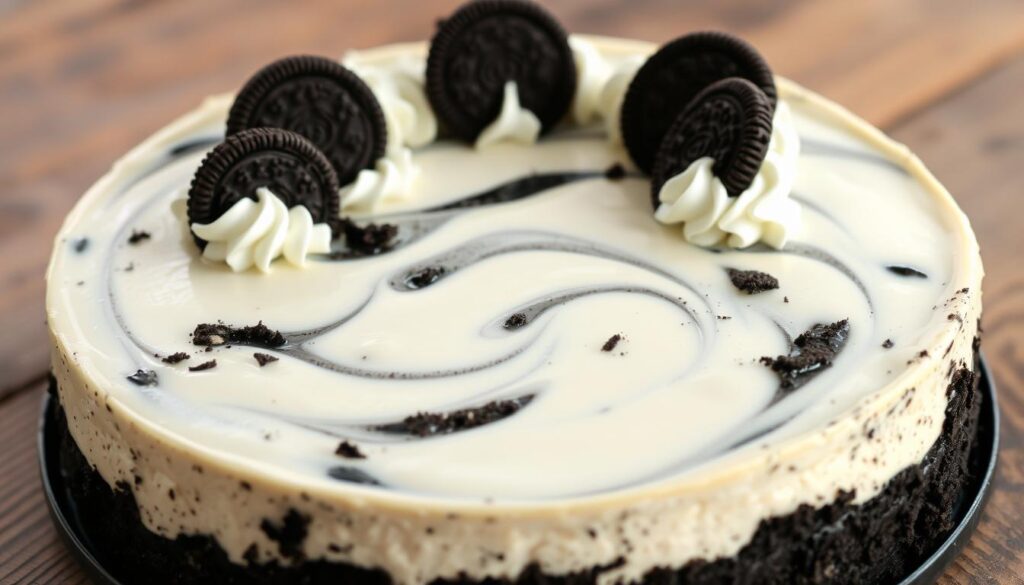
Whipped cream rosettes are a simple yet effective way to enhance your cookies and cream cheesecake. Use a star-tipped piping bag to create beautiful swirls. Add a crumbled Oreo on top for extra flavor and texture.
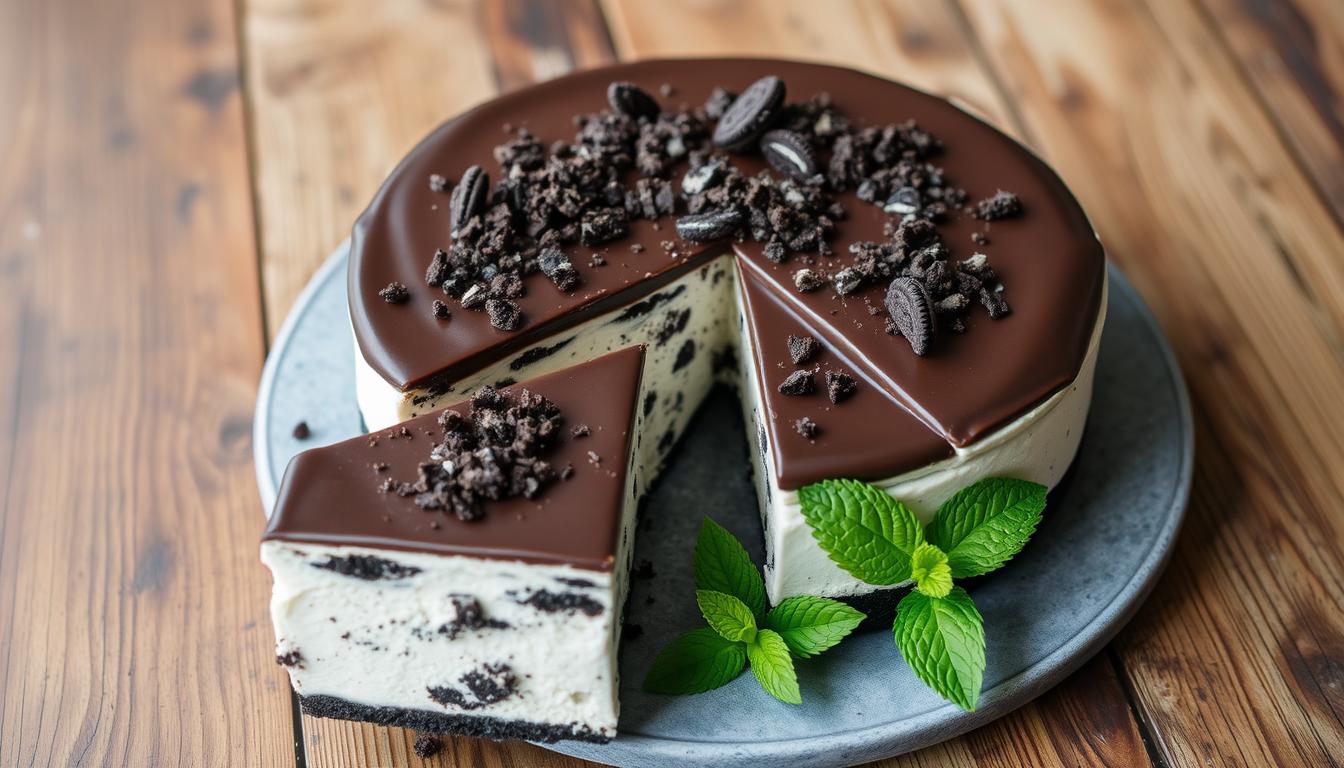
For a richer option, try a chocolate ganache topping. Melt dark chocolate with heavy cream, then drizzle it over the cheesecake. The creamy filling and shiny ganache are a match made in heaven.
- Garnish with more crushed Oreo cookies for a cookies and cream look.
- Place fresh raspberries, blackberries, or strawberries around the cheesecake for color and freshness.
- Sprinkle shredded coconut or chopped nuts on top for a nice texture.
Choosing the right toppings and decorations is key. They should highlight the cheesecake’s flavors and textures. With a bit of creativity, you can turn this dessert into a masterpiece that everyone will love.
Variations and Customization Options
The no-bake Oreo cheesecake is a tasty summer treat. But its real charm is in how you can change it up. You can make it your own with endless flavor options. It’s perfect for trying new things or meeting special dietary needs.
Flavor Modifications
Want to spice up your Oreo cheesecake? Try using different Oreo flavors. Mint Oreos add a cool twist, while peanut butter Oreos make it rich and decadent. You can also use seasonal Oreos to make your dessert festive.
Dietary Adaptations
- Gluten-free: Use gluten-free cookies or graham crackers for a crust. This makes a tasty no-bake dessert for those with gluten issues.
- Lower in sugar: Cut down the sugar in the filling or use sugar-free cream cheese. This makes a lighter, less sweet summer dessert.
- Dairy-free: Swap cream cheese for a dairy-free version. This works for those with lactose intolerance or who follow a vegan diet.
No matter your dietary needs or flavor preferences, this no-bake Oreo cheesecake recipe is adaptable. It’s a versatile no-bake dessert for any event.
Serving Suggestions and Presentation Tips
When serving your No Bake Oreo Cheesecake, presentation matters a lot. It’s perfect for a potluck or a cool summer dessert. These tips will make your dish stand out and wow your guests.
For a great look, cut the cheesecake into neat slices. Place them on a platter in a nice pattern. Add a crumbled Oreo or chocolate sauce on top for a fancy touch. The cheesecake tastes best when it’s cold and creamy.
At a big event, show off the cheesecake on a cake stand or big platter. It will be the star of your dessert table. Add fresh berries, mint, or powdered sugar around it for a beautiful display. Your guests will love it.
FAQ
What makes this no-bake Oreo cheesecake so special?
This no-bake Oreo cheesecake is special for many reasons. It’s easy to make and doesn’t need an oven. The creamy texture and Oreo flavor make it irresistible for any occasion.
What are the key ingredients I’ll need?
To make this cheesecake, you’ll need cream cheese, heavy cream, powdered sugar, vanilla extract, and Oreos. The Oreos make the crust, while the cream cheese and whipped cream make the filling.
What tools and equipment are required?
You’ll need a springform pan, a food processor or a bag and rolling pin, mixing bowls, and an electric mixer. These tools help make the perfect crust and filling.
How do I make the Oreo cookie crust?
To make the crust, crush the Oreos finely. You can use a food processor or a bag and rolling pin. Mix the crumbs with melted butter and press into the pan.
What’s the step-by-step process for making the cheesecake filling?
First, beat the cream cheese until smooth. Then, add powdered sugar and vanilla extract. Whip heavy cream until stiff, then fold it into the cream cheese mixture. Add crushed Oreos and pour into the crust. Chill until set.
How can I ensure the perfect creamy texture?
For a creamy texture, keep ingredients at room temperature. Avoid overmixing to prevent a grainy texture. Chill the cheesecake as recommended for the best consistency.
Can I make this cheesecake in advance?
Yes, you can make this cheesecake ahead of time. Cover it and refrigerate for up to 5 days or freeze for 2 months. It’s perfect for busy times or special occasions.
What if I encounter any issues while making the cheesecake?
If the filling is runny or the crust crumbly, don’t worry. For a runny filling, chill longer or add more powdered sugar. For a crumbly crust, use more butter or press it harder.
Can I customize the flavors or make dietary modifications?
Yes, you can customize this cheesecake. Try different Oreo flavors or make it gluten-free with gluten-free Oreos. Adjust the sweetness to fit your dietary needs.
How should I serve and present the no-bake Oreo cheesecake?
There are many ways to serve this cheesecake. Slice it for a classic look or get creative with toppings. It’s great with whipped cream, chocolate ganache, or crushed Oreos. Try it with fresh berries or cocoa powder for extra flavor.


